Please read this guide thoroughly with your installer before beginning installation.
A. Essential Information
- It is highly recommended to hire an installer experienced with Moroccan Zellige tiles to ensure a successful installation.
- We are not responsible for installation issues, maintenance concerns, or post-installation modifications.
- Ignoring these instructions may lead to undesirable and costly outcomes.
B. Understanding Zellige Tiles
Natural Characteristics & Variations
Each Zellige tile is handmade using traditional Moroccan craftsmanship, resulting in 15-20% of tiles displaying natural imperfections such as:
✔ Fine hairline cracks (crazing)
✔ Uneven edges, pits, and subtle chips
✔ Color, shape, and texture variations
These unique features contribute to the authentic beauty of Zellige tiles when installed properly. If you prefer a more uniform look, we suggest ordering 20-25% extra tiles to allow for selection and adjustments.
Color Matching & Additional Orders
- Sample tiles may not match the exact shade of your final order due to the natural variation in production.
- If additional tiles are needed later, color consistency is not guaranteed, as they may come from a different batch.
- To avoid mismatches, consider ordering extra tiles upfront.
C. Is Zellige Right for Your Project?
If you prefer perfectly uniform tiles or cannot follow the recommended installation process, consider alternative tile options that provide a more standardized appearance.
1. Pre-Installation Process
Inspecting Your Tiles
✔ Carefully check your order upon arrival—we are not responsible for issues after tiles are installed.
✔ Expect inconsistencies in size, color, and finish, as these are part of the handmade nature of Zellige.
✔ Markings from the cutting process may appear on tiles and can be removed with a damp cloth.
✔ Order at least 15% extra to account for breakage, cuts, and layout adjustments.
Tile Preparation
✔ Clean tiles before installation to remove any dust or shipping residue.
✔ Soak glazed Zellige tiles in water for 1-2 minutes before installing to improve adhesion.
❌ Do NOT soak unglazed Zellige, as it may cause efflorescence, which is difficult to remove.
Blending & Layout Planning
✔ Mix tiles from multiple boxes to ensure even distribution of color and variation.
✔ Lay out the tiles before installation to preview the pattern and adjust as needed.
✔ For mosaic sheets, remove tiles from the mesh backing and mix them for a more natural look.
✔ Lighting Considerations
✔ Natural light enhances color depth and brightness.
✔ Shadowed areas may create darker tones.
✔ Selecting Grout Color
✔ Modern & Minimalist Look: Match grout color to tile color.
✔ Traditional Moroccan Look: Use neutral-colored grout for an authentic Zellige finish.
✔ Check social media or design inspirations for grout pairing ideas.
Discussing the Installation Style
✔ Communicate your vision with your installer before starting.
✔ Decide between a level installation for a smooth surface or an organic placement to emphasize Zellige’s handmade charm.
2. Installation Process
Materials You’ll Need For Cleaning & Sealing
✔ pH-neutral tile cleaner (e.g., Grout & Tile Deep Cleaner Spray)
✔ FILA FOB - Xtreme Sealer (Solvent base) or Stain-Proof Original Premium Impregnating Sealer (Water base) for wet areas
Tile Installation Steps
✔ Ensure the surface is completely level before installing.
✔ Apply thin-set mortar evenly to the substrate and back butter each tile for strong adhesion.
✔ Adjust the thin-set thickness as needed to level the tiles.
✔ Press tiles firmly into place using the palm of your hand.
Cutting Zellige Tiles
✔ Use a wet saw with a diamond blade to achieve clean cuts.
✔ For exposed edges, miter the tiles to create a seamless transition.
Wall Installations
✔ Install tiles edge-to-edge or with a 1/16” grout joint for a traditional Moroccan look.
✔ Use wedge spacers to align edges while preserving the natural variations.
Floor Installations
✔ Minimum recommended grout joint: 1/8” for slip resistance.
✔ Smaller formats (e.g., 2x6 or 2x2 inches) are best suited for floors due to durability.
Installing in Commercial & Wet Areas
✔ Increase slip resistance by widening grout joints or using anti-slip treatment.
✔ Zellige DCOF rating: 0.16 (suitable for vertical and dry applications).
3. Grouting & Sealing
Grouting Guidelines
✔ We recommend using unsanded grout to fill gaps and joints while preserving the tiles handcrafted look and to avoid scratches on the surface.
✔ Do NOT dry-stack Zellige—grout protects the edges and prevents moisture damage.
✔ Remove excess grout immediately with a damp sponge.
Sealing After Grouting
✔ In wet environments, apply FILA FOB - Xtreme Sealer (Solvent base) or Stain-Proof Original Premium Impregnating Sealer (Water base) to prevent water absorption.
✔ (*) Unglazed Zellige tiles required to be sealed regardless if installed in a dry or wet environment.
Using Zellige in Bathrooms & Wet Areas
✔ Fully waterproof the installation surface.
✔ Choose suitable adhesives and grouts for moisture-prone areas.
✔ Seal all tiles and grout lines for added durability.
4. Finishing & Edging Options
✔ To create a clean, modern finish, install tiles flush with drywall or extend them from floor to ceiling.
✔ Mitered edges allow for a refined, seamless appearance.
✔ If additional finishing is needed, 1x4 pencil trims are available with a lead time, please contact us.
5. Maintenance & Care
Routine Cleaning
✔ Sweep or vacuum regularly to prevent dust buildup.
✔ Use pH-neutral tile cleaners (e.g., FILA Clean All - Neutral All Surface Cleaner).
✔ Wipe spills immediately, especially oil and grease on unglazed Zellige.
Sealing & Reapplication
✔ Re-seal wet areas and unglazed Zellige every 1-2 years depending on wear.
✔ Use UV-resistant sealers for outdoor installations to prevent fading.
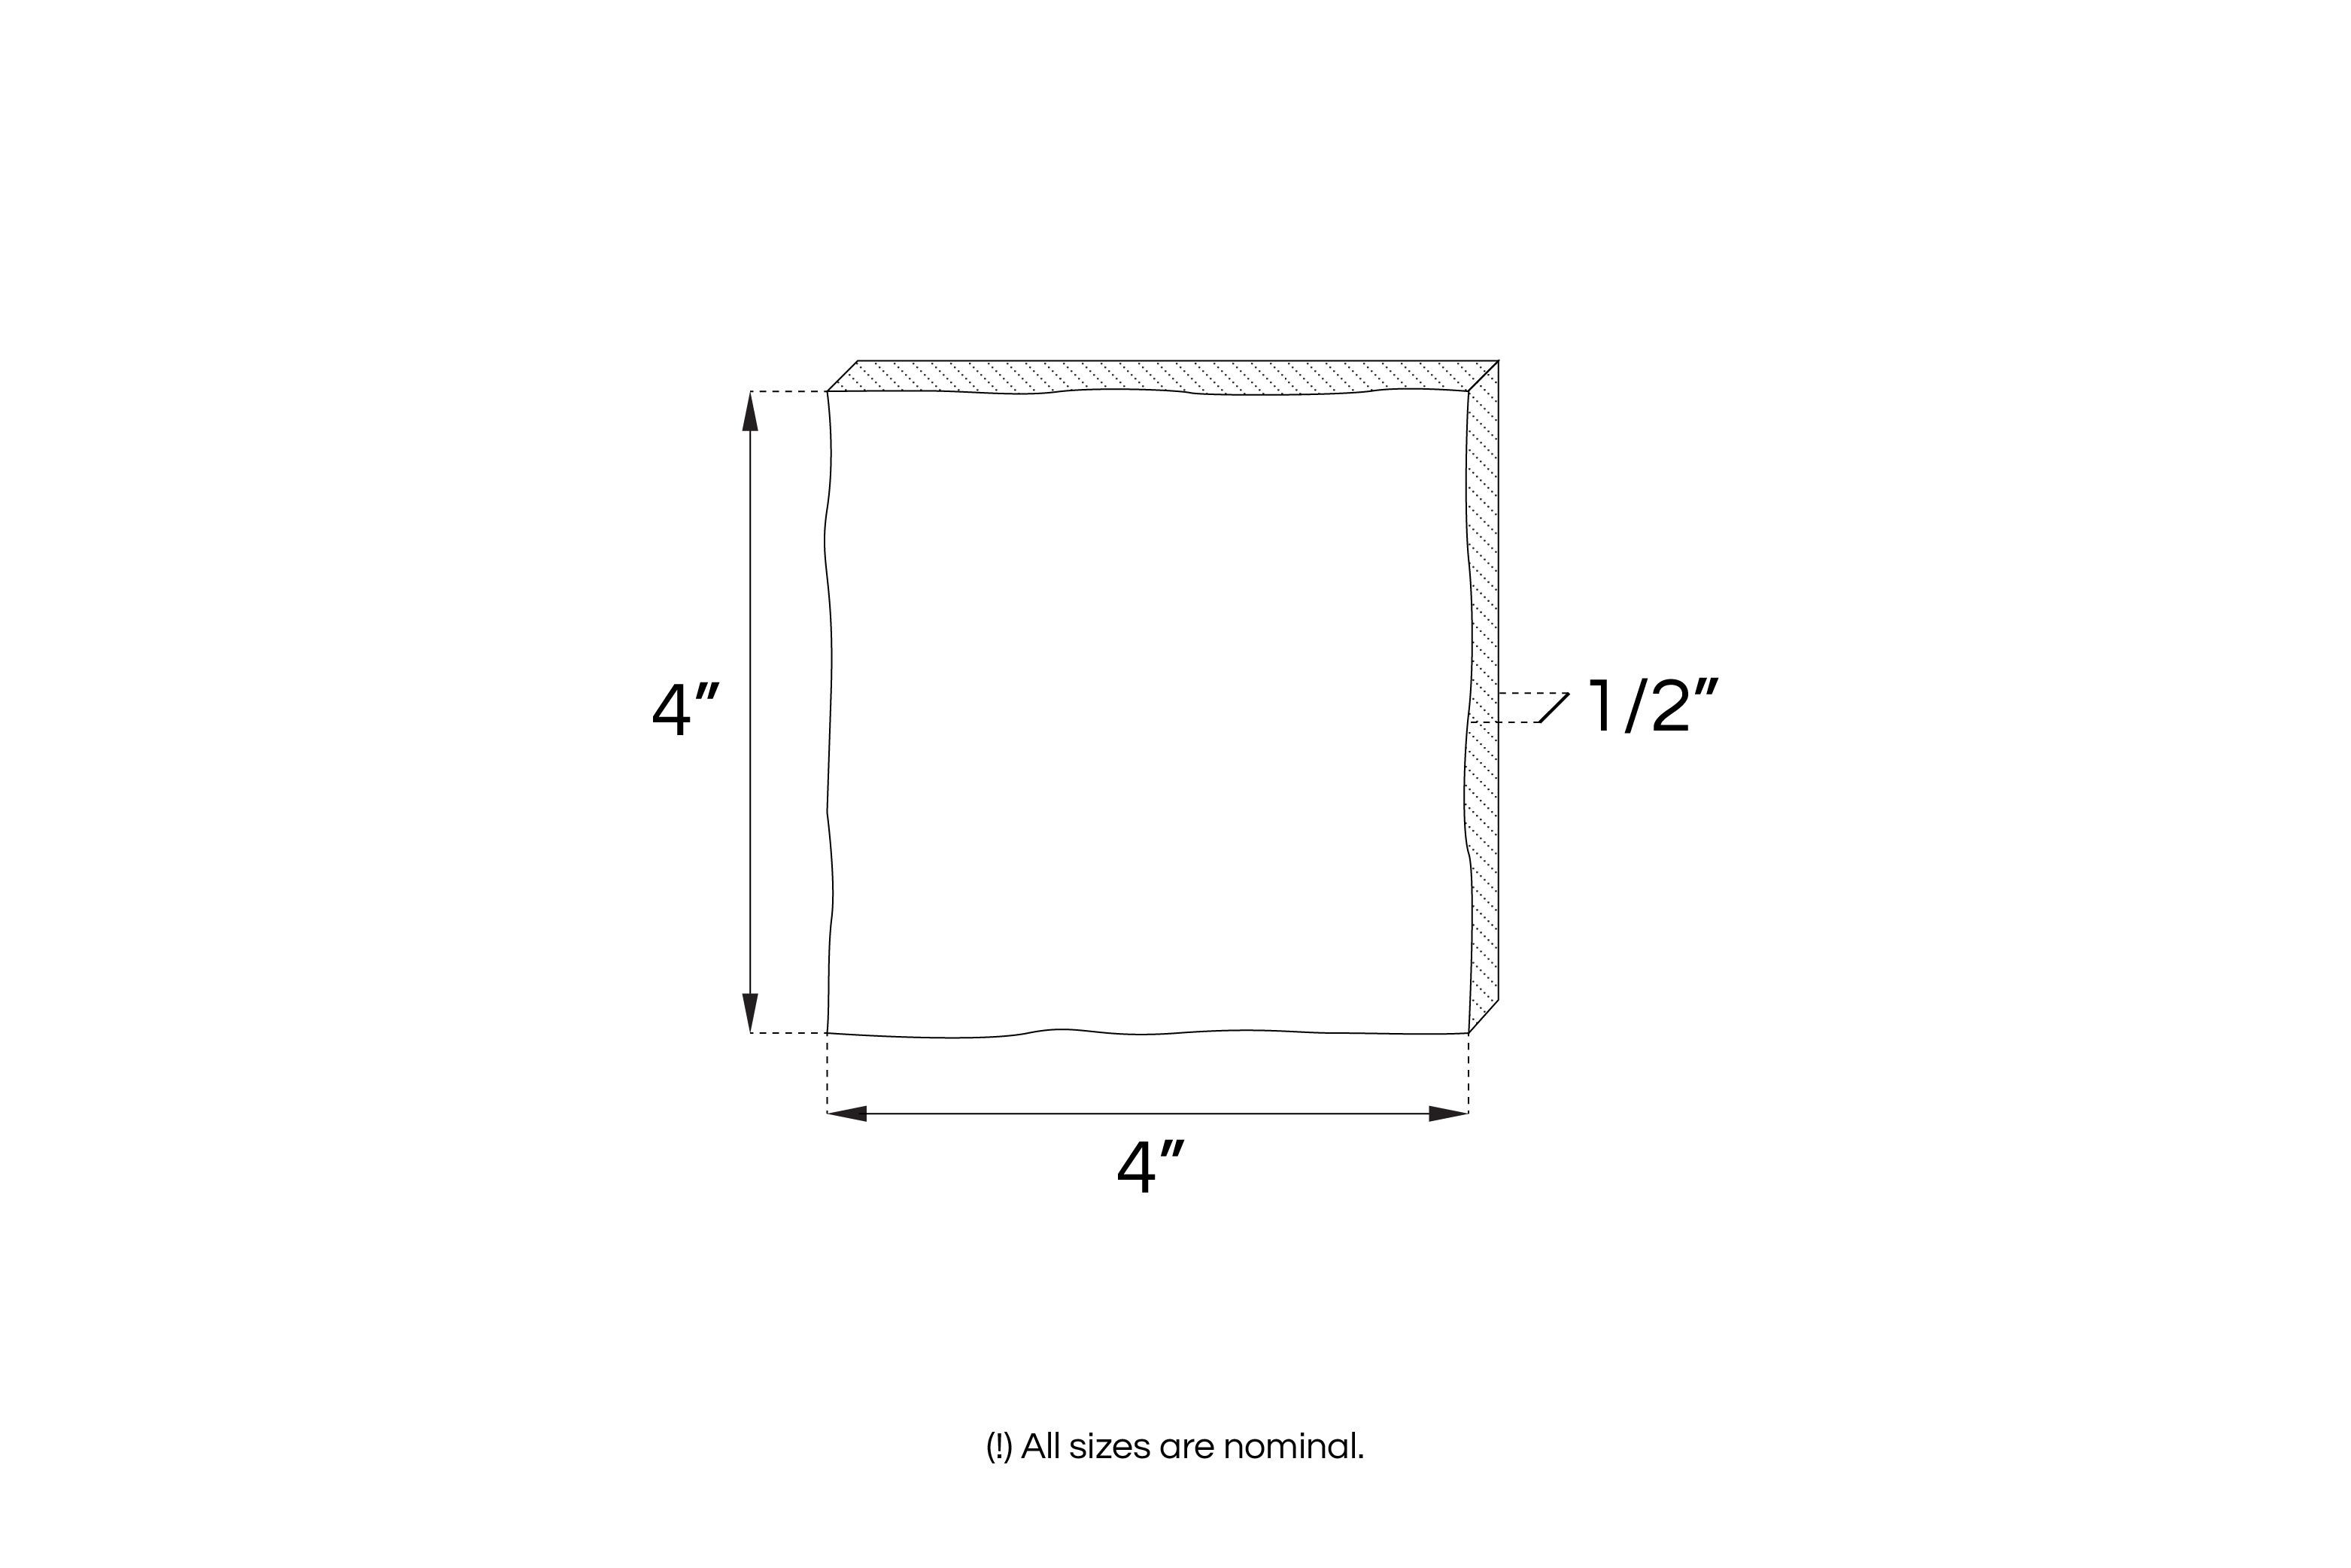
Note: Zellige tiles have slight thickness variation, you can adjust this while installing.
The guideline above are for directional use only. Each customer is responsible for hiring a skilled contractor for installation. Cemento Collection can not be held responsible for any installation error.
All types of surfaces where Cemento Collection products are installed must be fully cured, stable, and free from any removable components, dust, oils, greases, waxes, or paints. Prior to installation, it is essential to conduct a thorough inspection of the artifacts, verifying measurements, thicknesses, cleanliness, finishes, and any damaged parts, etc. Cemento Collection disclaims all liability if defective pieces are installed.